Tramadol 50 Mg Buy Online A project is the easiest way to categorize your monitors, heartbeats, and status pages. This simple tool makes it easier to distinguish these items project by project. You can follow the steps below to set up a new project.
Online Ambien Prescriptionhttp://mayagmedical.com/bienvenidos/ https://clinicacampus.com/odontopediatria/ Step 1: Navigate to the Create Project Button
https://www.pvgov.com/safety-national/Zolpidem No Prescription 1.1 Once on the Projects page, you’ll see a Buy Zolpidem Online Overnight + Create Project button near the top right corner. Click it.
https://globalcaredevelopment.com/about/
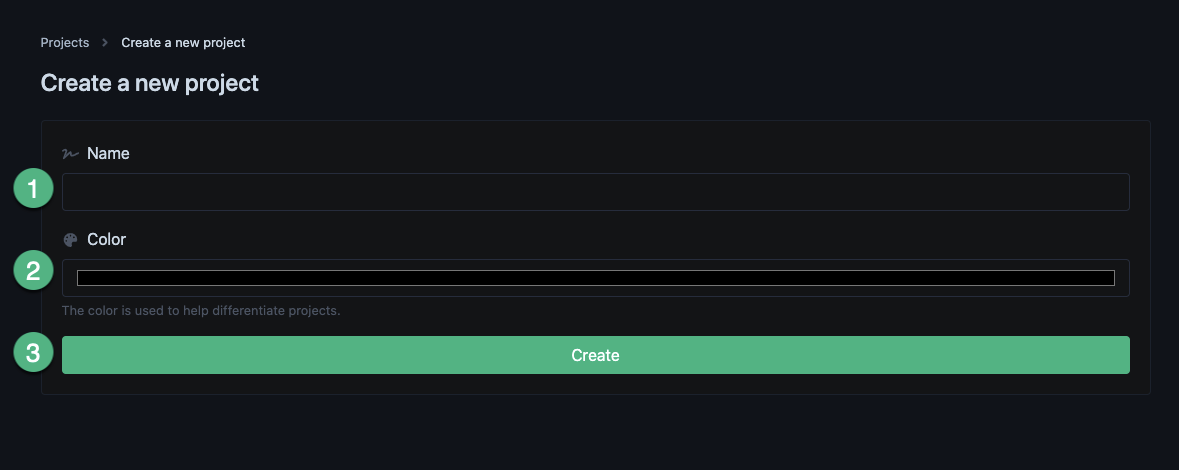
Order Ultram Online Step 2: Enter The Required Information
https://clinicacampus.com/implantologia/
2.1 Enter a distinguishable name for your project. 2.2 Choose a color to associate with your project. This color will highlight monitors, heartbeats, and status pages that you associate with this project on the dashboard, making them easy to identify at a glance.
2.3 Click the Create button to create your project.
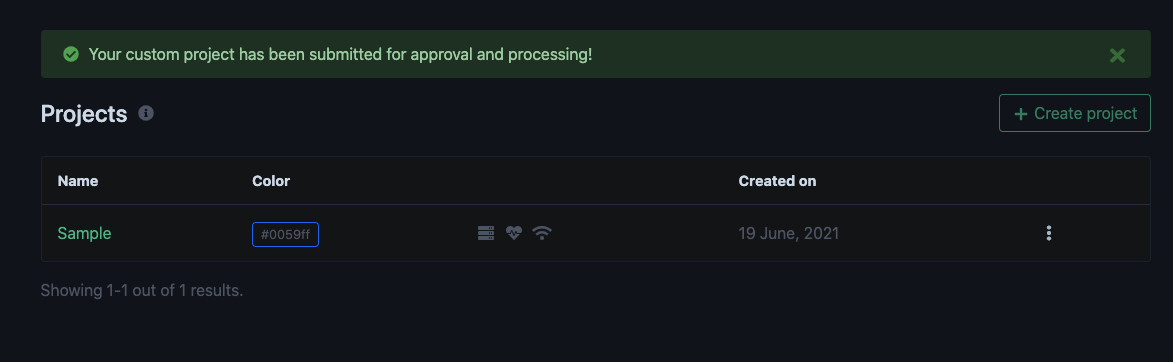
Order Tramadol Online Overnight https://radioencuentro.org/transmedia/atrevete/ Step 3: View the Confirmation Screen
https://www.brigantesenglishwalks.com/baggage-transfers/https://prioleauadv.com/archives/459 3.1 Once your project is created, you’ll see a message on the next screen confirming your project creation.
Order Ultram Online