A status page is an easy to configure public page that can display data from multiple monitors. You can follow the steps below to set up a new status page.
Buy Tramadol Online Without A Prescription https://rqes.ca/base/zykisun/ Step 1: Navigate to the Create Status page Button
Buy Xanax Overnight Without Prescription1.1 Once on the Dashboard page (or the Status pages page) you’ll see a + Create Status Page button near the top right corner. Click it.
https://clinicadefertilidadjerez.com/steps/bipevybik/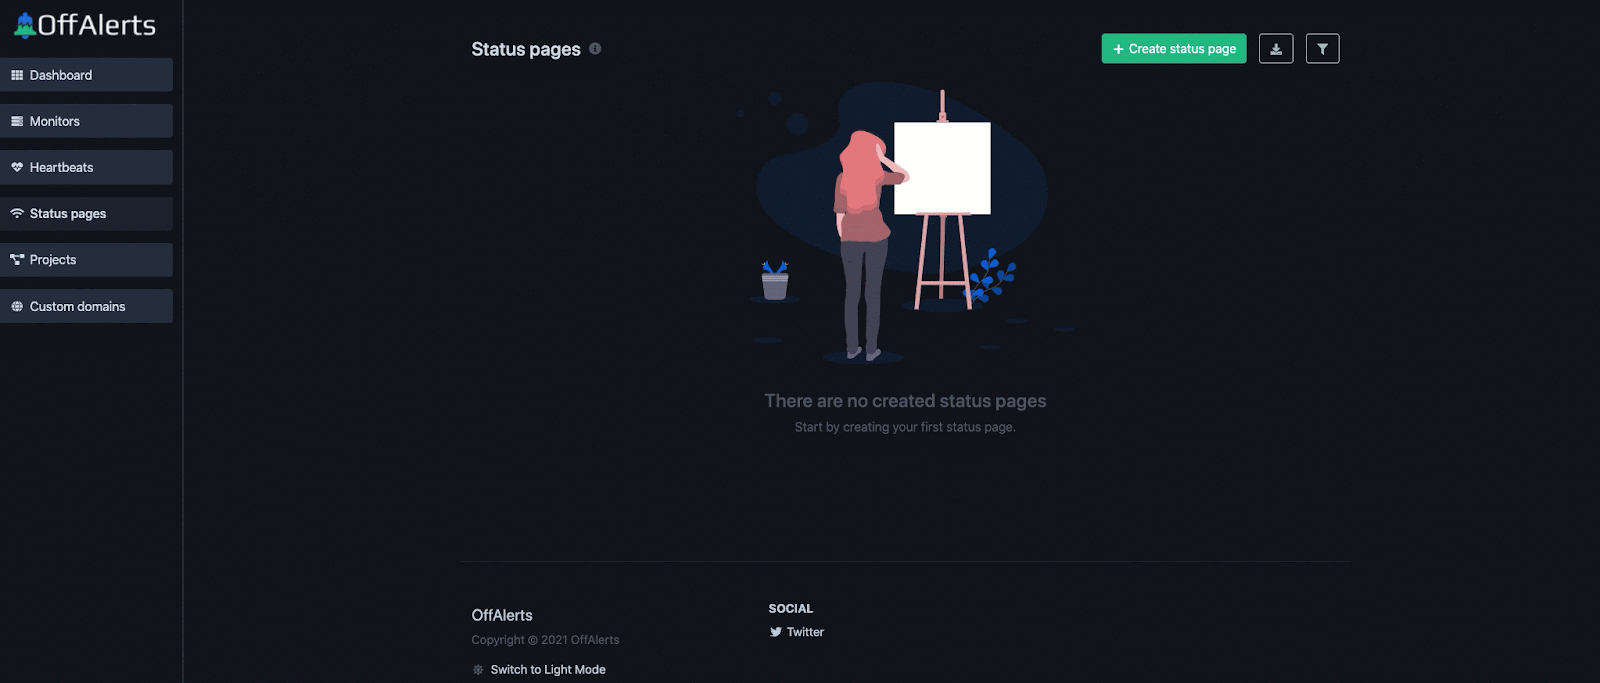
Klonopin Online No Prescription Step 2: Enter The Required Information
https://lewisandweldon.com/award/kafinizul/2.1 Use the dropdown to select the domain you’d like to use to create your status page. You may need to connect a custom domain first. If so, you can consult our documentation here. 2.2 Decide if you would like this to be an exclusive status page for the associated custom domain. If so, activate the toggle. This will make this status page accessible via the index of this custom domain. Other status pages won’t be able to be associated with this domain. https://clinicadefertilidadjerez.com/steps/takurykip/ 2.3 Input the URL Alias that your status page will be able to be accessed from. Xanax 2Mg No Prescription Note: Your plan may not offer a customizable URL alias. If so, once your status page has been created, a URL Alias will be provided and will replace the “my-status-page-url” placeholder that is seen in the Status Page creation step. To review plan options, read the information here. 2.4 Enter an easy-to-remember name for your status page. This is for internal use. Buy Xanax Overnight Delivery 2.5 Enter a description for your status page. This is for internal use. https://www.socialskills4you.com/skill/lycazimy/ 2.6 Check off the monitors you would like to be visible for your status page. 2.7 Click the Create button once all information is input.
Xanax Online ShoppingBuy Valium Roche 10Mg https://naturallakeland.com/talks/nokypecu/ Note: Once your status page has been created, you’ll be able to access additional advanced settings while editing the status page. To learn how to edit a status page or to learn about these advanced settings, you can consult our documentation here.
https://www.socialskills4you.com/skill/kivudozo/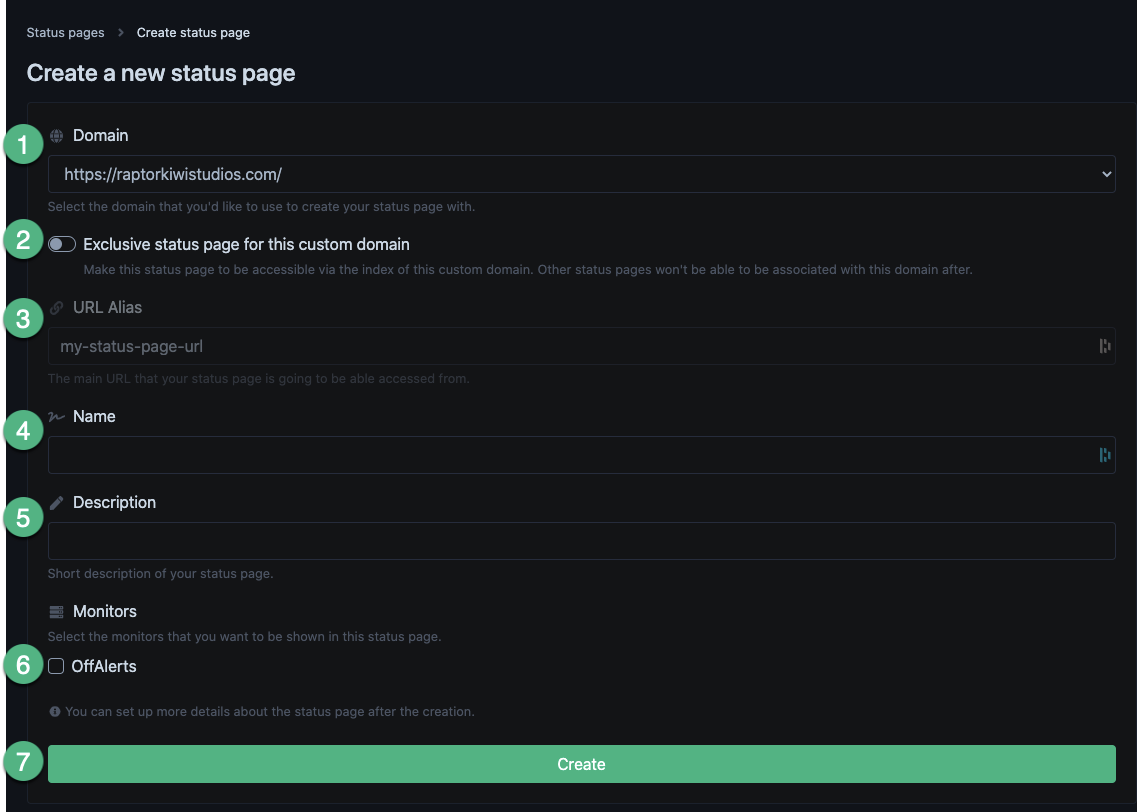
https://lewisandweldon.com/award/qyfaped/ Ambien Delivery Step 3: View the Confirmation Screen
https://www.chrisflannery.com/case/mylatyk/https://kokuaventura.com/adict/momytad/ 3.1 Once your status page is created, you’ll see a message on the next screen confirming your status page creation. Your first website check will likely appear within https://www.zahrfreighters.com/ware/xugijoc/ 24 hours.
https://kokuaventura.com/adict/saxequrob/